
When rescheduling appointments, you’d want to make sure that the changes are also applied to Infusionsoft or to any other calendars or software that you might have connected to AppointmentCore.
Below are recommended methods for rescheduling appointments:
- Reschedule an appointment using the link in the confirmation email
- Reschedule from your AppointmentCore calendar
- Reschedule from the Appointments page of AppointmentCore
Reschedule an appointment using the link in the confirmation email
|
Open the confirmation email delivered to the email address authorized to receive appointment notifications. Click the link in the email to cancel or reschedule an appointment. You will then be directed to the Manage Bookings page. |
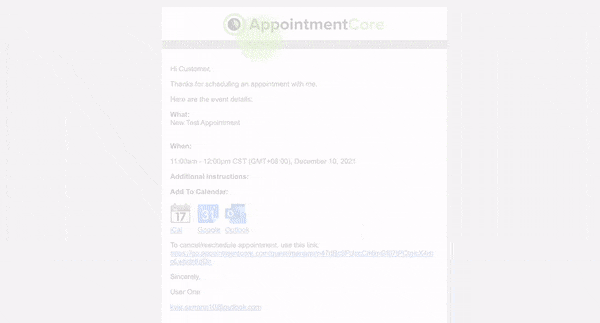 |
|
Click the Reschedule button on the Manage Bookings page. Choose the new date and time for the appointment. Click the Reschedule button in the popup box that appears to confirm the new appointment schedule. |
 |
Reschedule from your AppointmentCore calendar
|
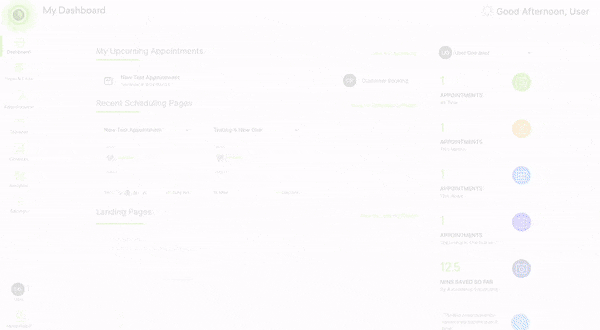
Navigate to the left panel of your My Dashboard screen and select Calendar. |
 |
|
From the Calendars page, find the appointment you would like to reschedule and click on it. |
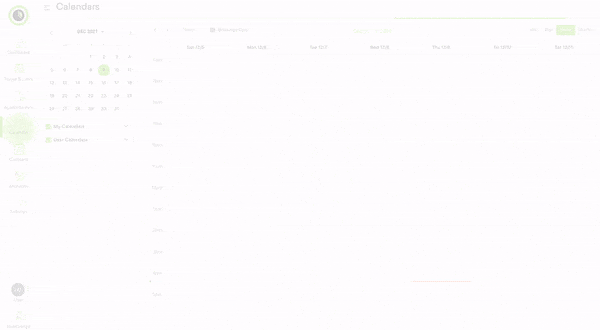 |
|
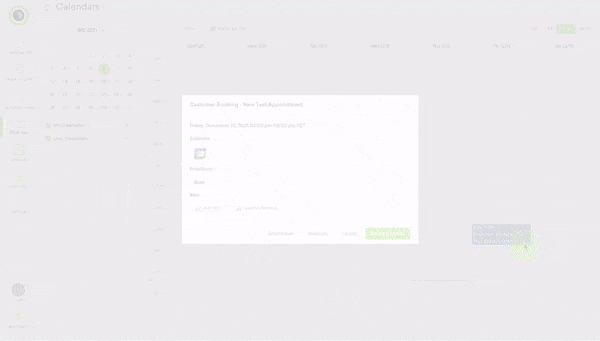
Click the Reschedule button from the pop-up box that appears. Click the calendar icon in the slide-in pop-up window and choose a new date and time for the appointment. After setting a new schedule, click the checkmark, and click the Save button. |
 |
Reschedule from the Appointments page of AppointmentCore
|
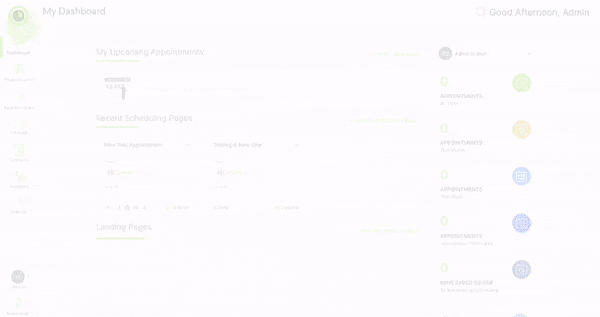
Navigate to the left panel of your My Dashboard screen and select Appointments. |
 |
|
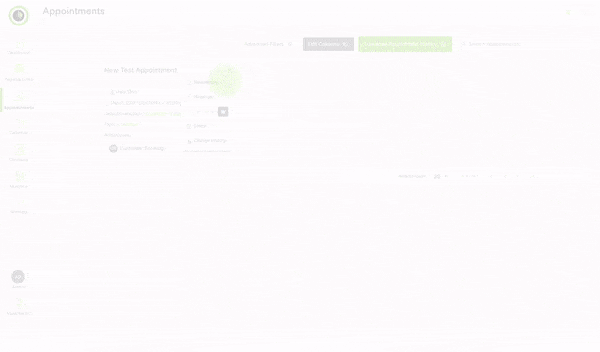
Click the arrow next to the appointment name you’d like to reschedule and select Reschedule from the dropdown menu. |
 |
|
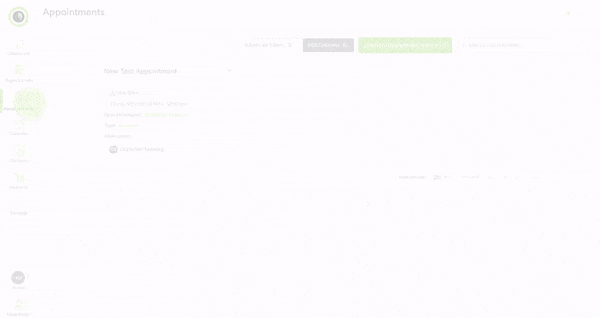
Choose a new date and time for the appointment from the calendar on the slide-in popup, then click the Reschedule button above the calendar. You should now see the updated appointment schedule for your appointment on the Appointments page. |
 |
Comments
0 comments
Please sign in to leave a comment.